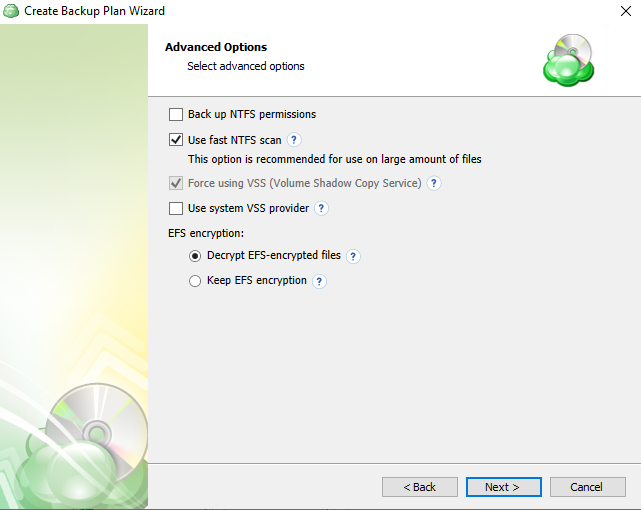
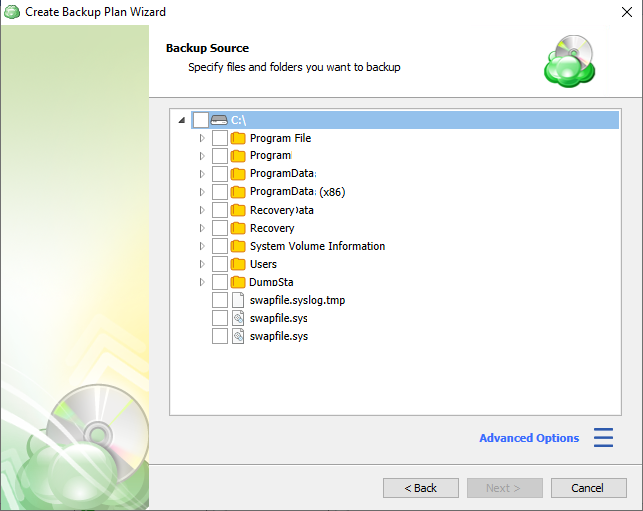
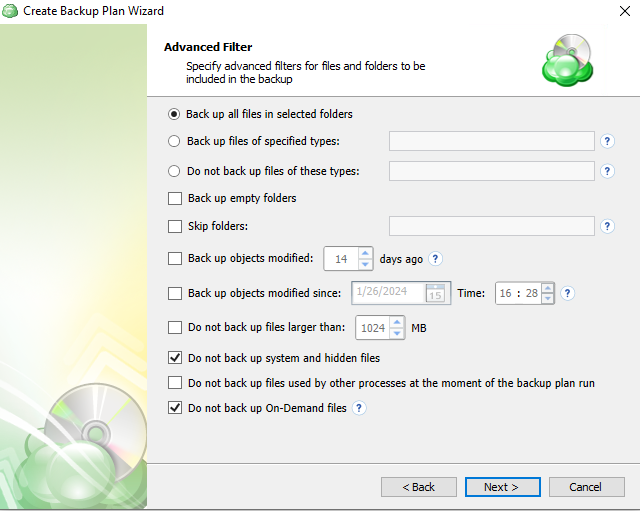
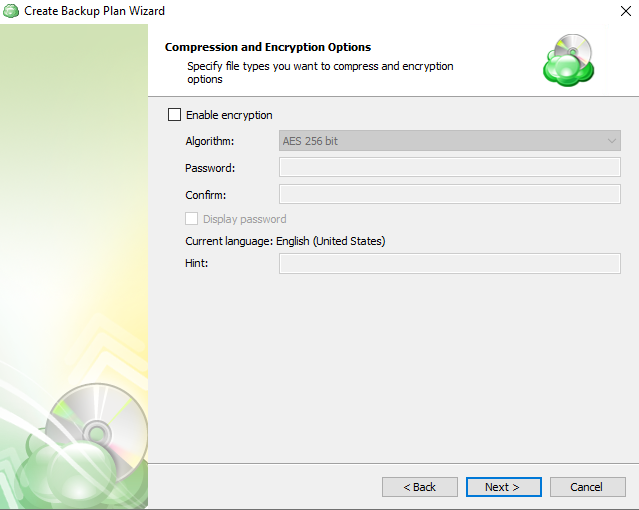
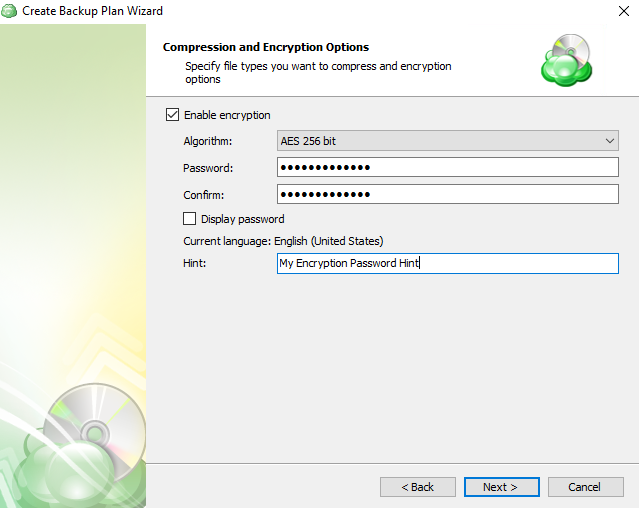
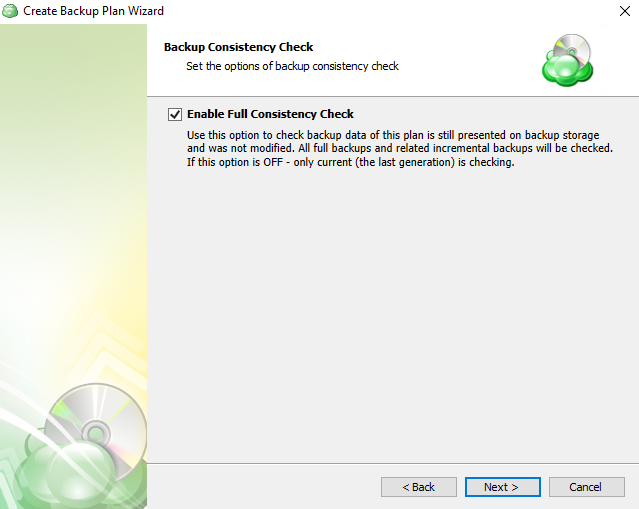
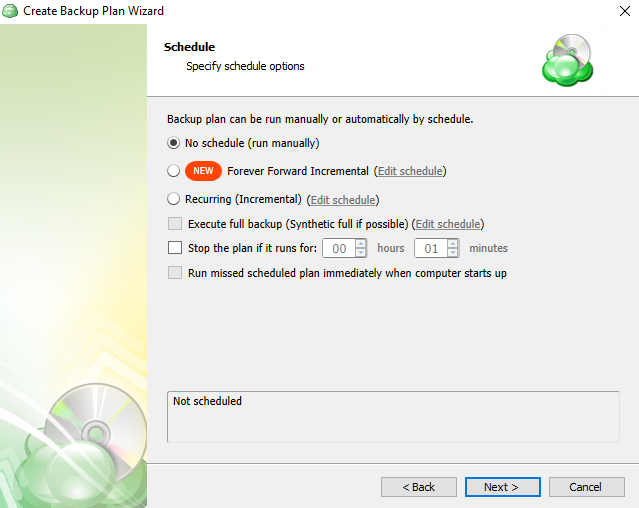
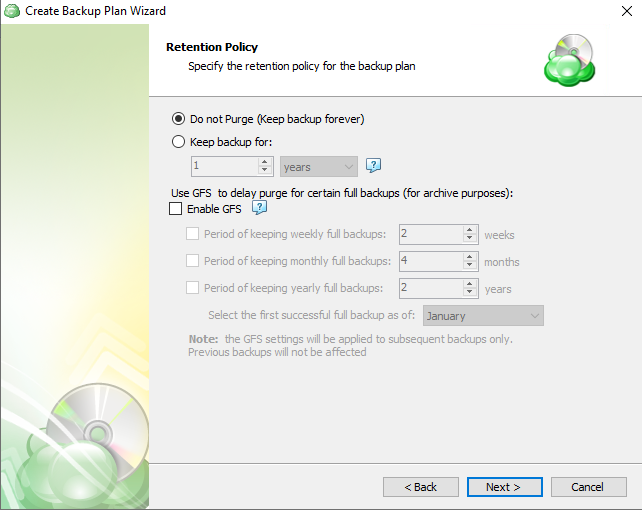
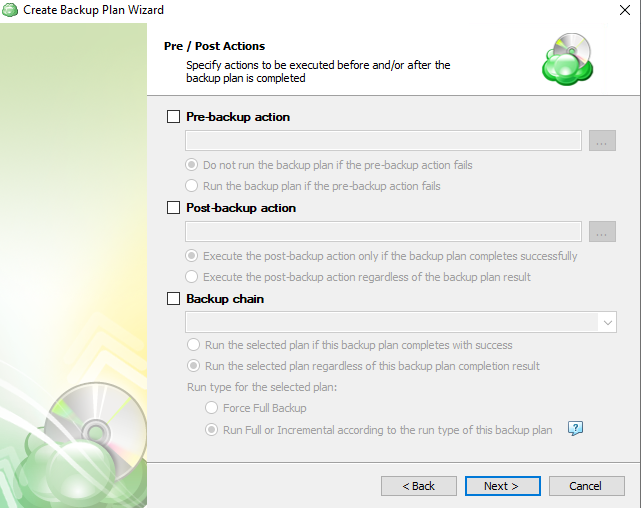
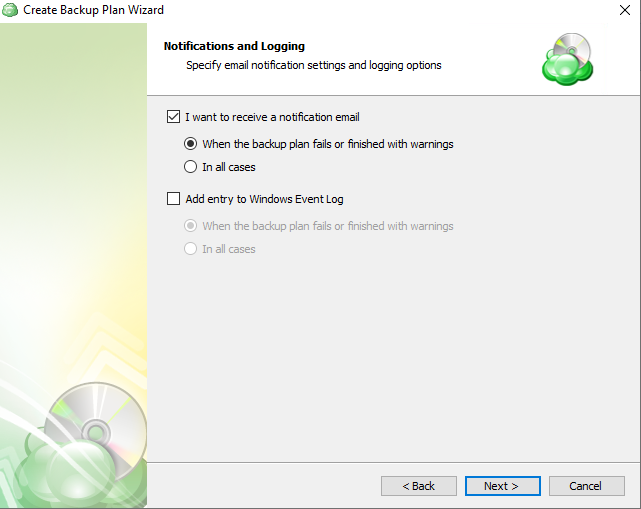
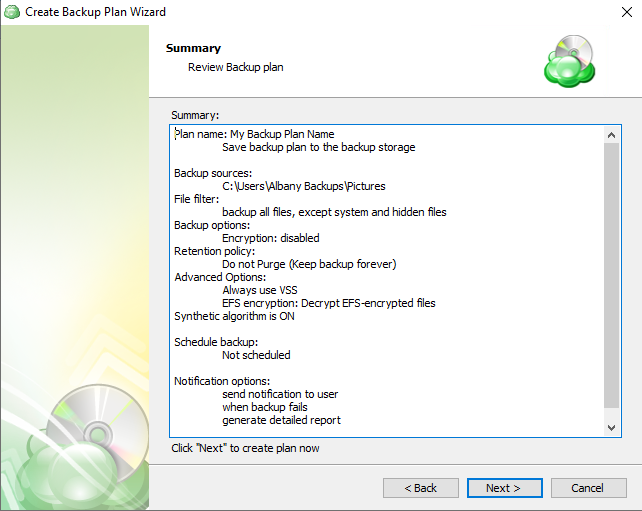
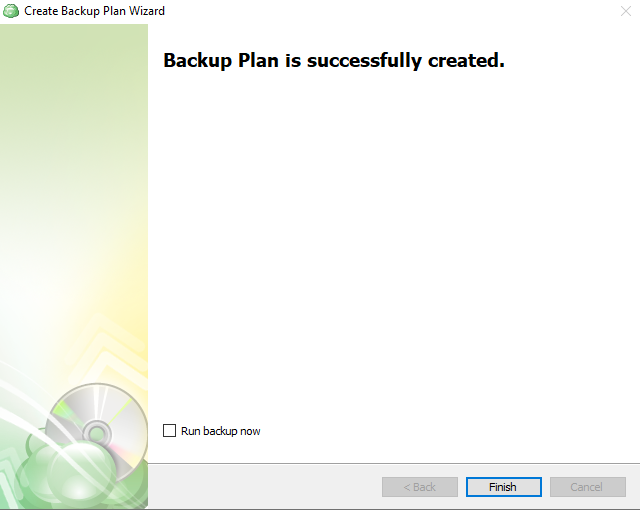
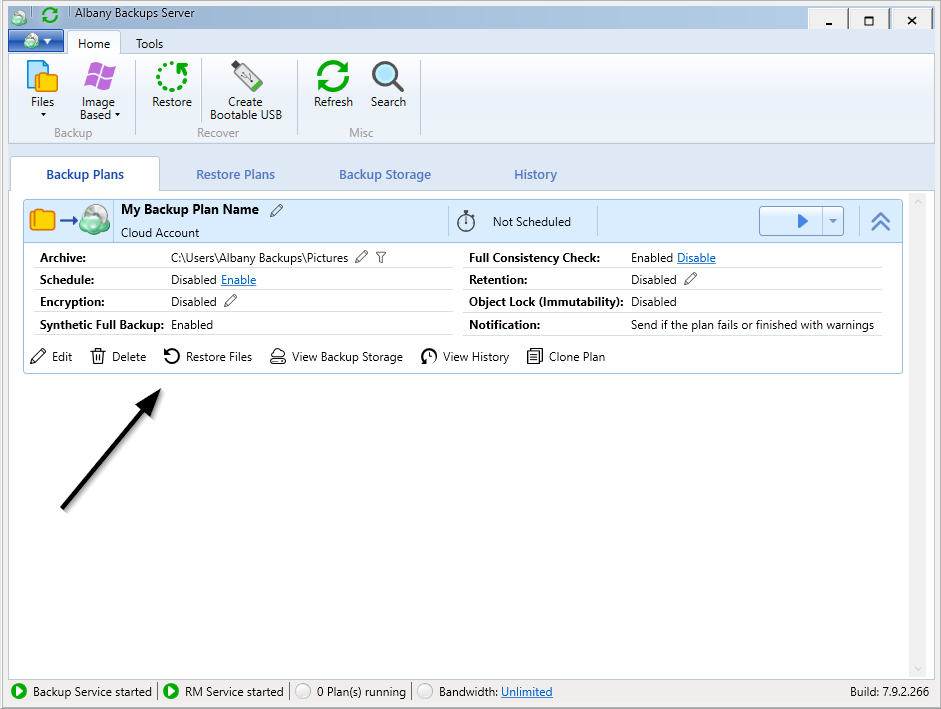
Select Files from the menu bar of the Albany Backups Client. Screens may differ slightly depending on the operating system you’re using. This example is from a Windows machine. The first configuration screen is the introduction and information screen. Click Next. The backup storage screen confirms you are connected to the Albany Backups online storage server. Click Next. The plan name screen allows you to provide a descriptive name for this file backup plan. The advanced options screen allows you to set various filesystem options. We recommend you keep this screen at the default settings, but if you’d like more information about customizing these options, please see our support page on advanced file options.The backup source screen allows you to select which files you’d like to back up to online storage. If you want to back up the entire disk, you might want to consider an image backup. The file backup is primarily designed to backup user files and documents. Advanced filtering allows you fine-tune the files you’d like to back up. System and hidden files are skipped by default, but you can reenable them if that’s required in your scenario. If you’d like more information, see our support page on advanced filtering. Data encryption. This is an important screen. Please enable encryption by checking the box, then enter your password and confirmation. This is not your Albany Backups account password; it is a password of your choosing that will be used to encrypt your files. It is extremely important that you don’t lose this password as it’s needed should you ever have to restore your files. Choose a password carefully and keep it in a safe place. Please make sure to save your encryption password, we cannot recover your files if it’s lost.The full backup consistency check is important, leave it checked and click next. Scheduling. You can choose to run your backup manually but scheduling it to run automatically is the best way to keep your data safe. Please note that a schedule will not run if your computer is in hibernation, sleep mode or off. If you need more information on scheduling your backup, see our support page on scheduling. Retention allows you to purge old backups or keep all versions of your files forever. If you have a lot of data that changes regularly, you may want to look at purging it regularly to save space. If you have files that rarely change, not purging may be a better option. Even with purge enabled, the most recent version of your files are always available. If you have additional questions, see our support page on retention. Pre and Post backup actions. If you have programs or scripts that need to run before or after your backup takes place, this is the place to specify them. Notification Emails. We recommend you select “In all Cases”. It’s important that you know your backup has taken place sucessfully and on-schedule. Settings review. Review your settings for the file backup here. If everything looks right, click on next. If there’s something you need to change, just click back and revise it. Confirmation. Your backup plan has been created and is ready to run (either manually or on the schedule you set). You will now see the backup plan you just created on the main screen. You may need to click the down arrows on the right hand side of the plan summary to see the detail.
Your file backup is complete. You may create as many file backups as you require.