An image backup is a restorable copy of your entire drive (or drives). It’s meant to guard against catastrophic failure. If you’re looking to backup individual files and folders, please see the file backup task.
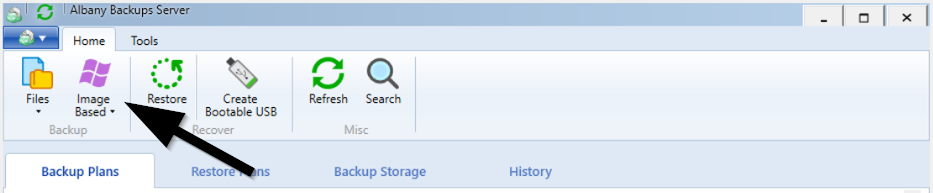
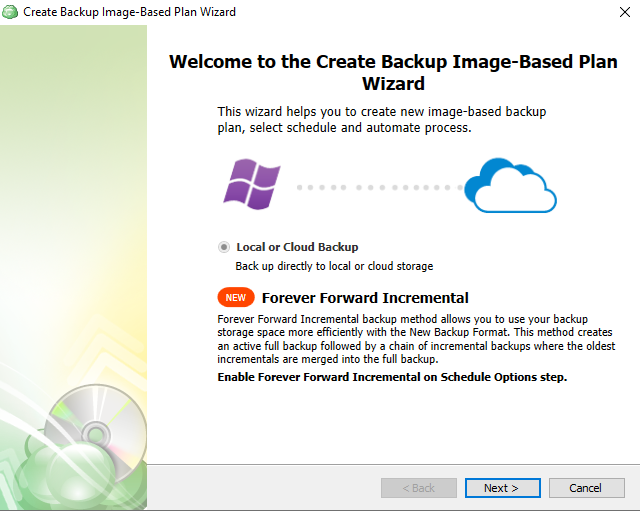
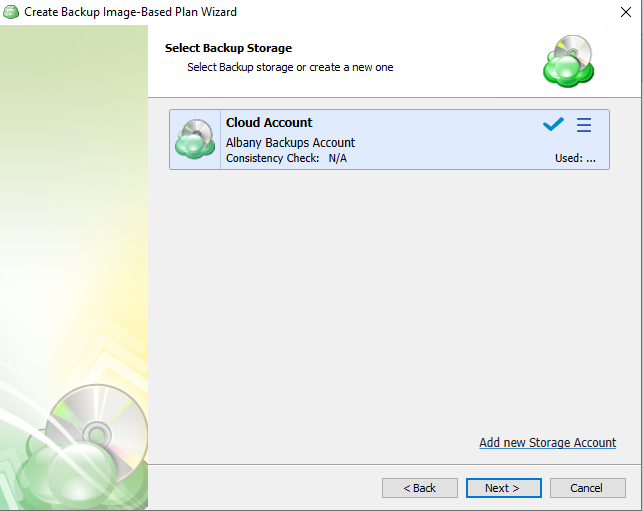
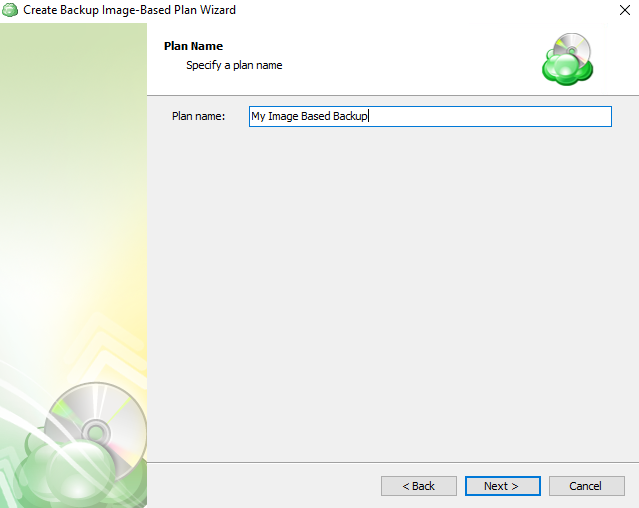
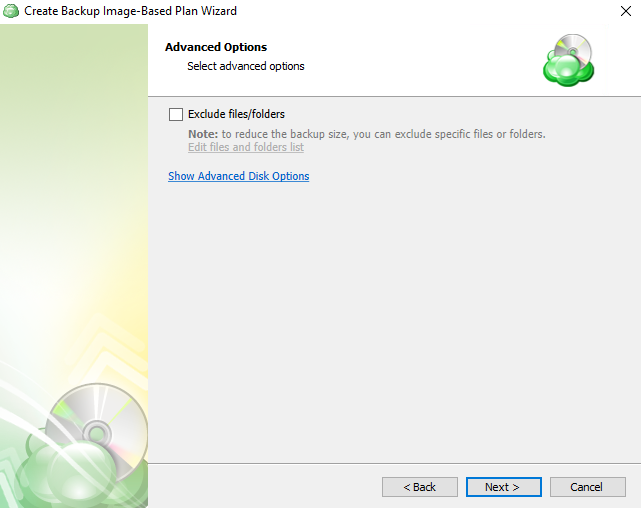
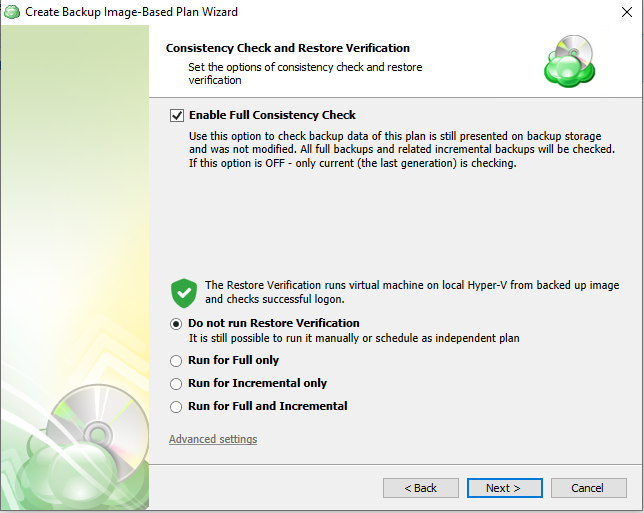
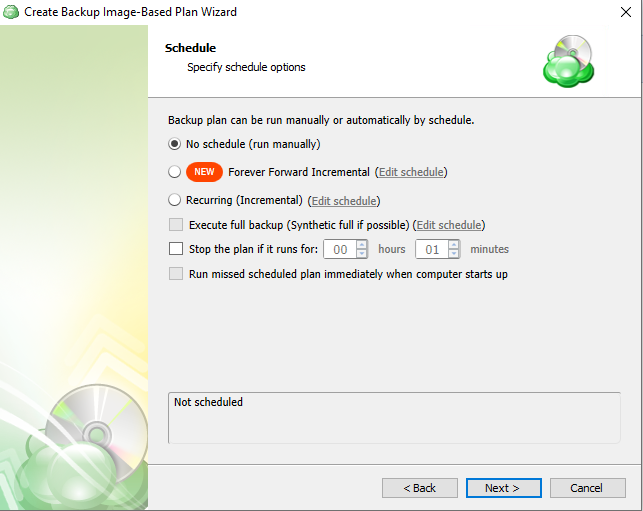
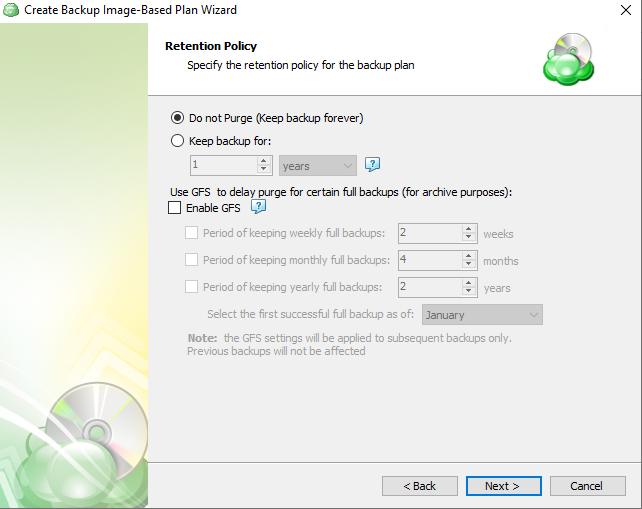
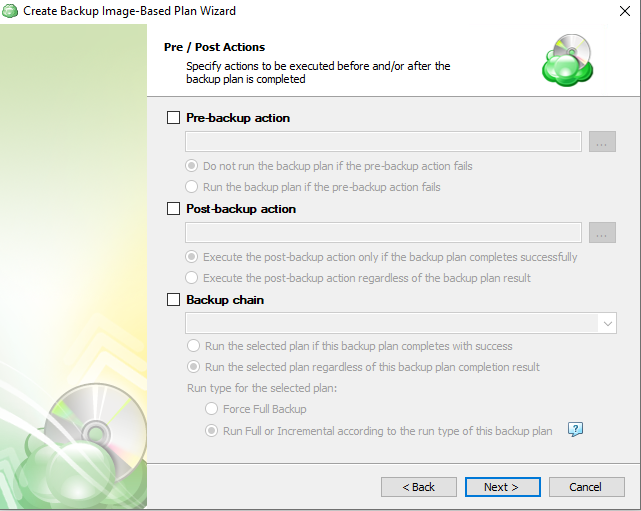
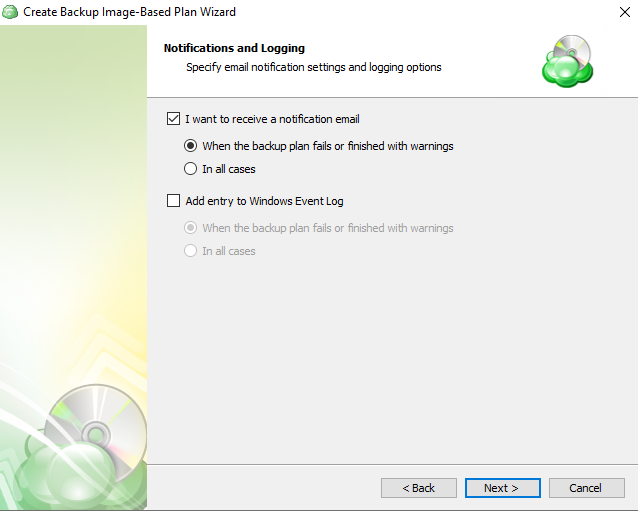
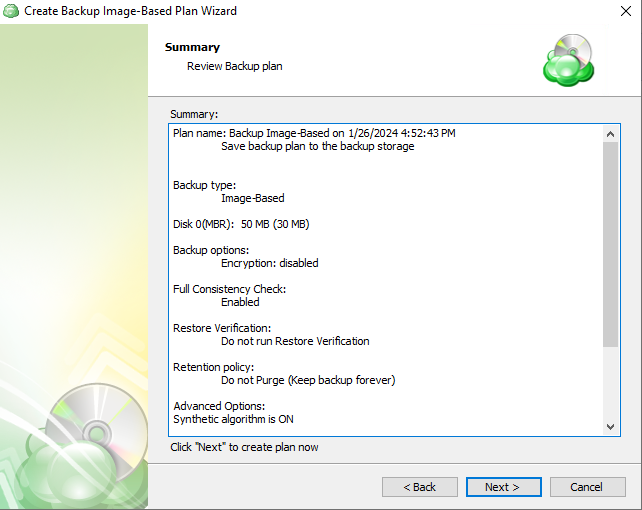
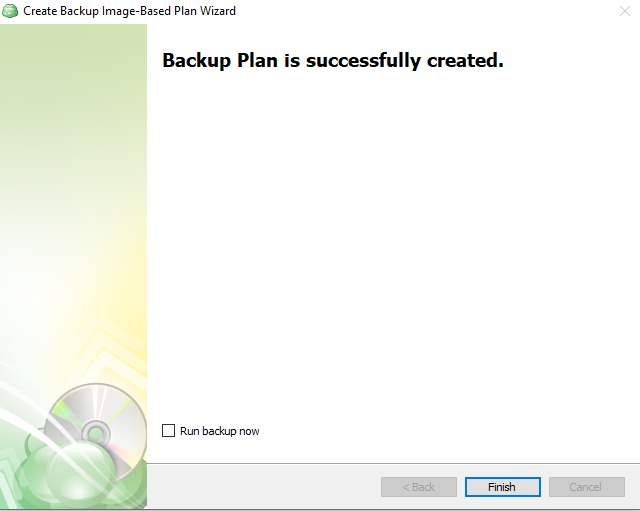
Start by selecting Image Based from the Albany Backups client software. Introduction and summary screen. Click next. Backup storage. This screen shows the Albany Backups online storage backup target. Click Next. Plan Name. Give your image backup plan a descriptive name. Partition selection screen. You can select a specific partition or all partitions on the drive(s). File and folder exclusion screen. You can exclude certain files and folder from being included on the image from here. Consistency check (leave enabled) and restore verification. Please see our support page on restore verification for detailed information about this selection. Scheduling Screen. Select a schedule for your image backup to run on. Please see our support page on scheduling for detailed information. Retention. Select a retention policy for your backup. If you’re unfamiliar with retention policies, please see our support page on retention. Pre and post backup actions. If you need to run a script or program before or after the backup, this is the place to do it. Notifications. We recommend you select In all cases.Backup summary. Review the summary page and make sure all of your settings are correct. If everything looks OK, click next. If you’d like to change something, click back and update it. Finished. Your image backup plan has been created.